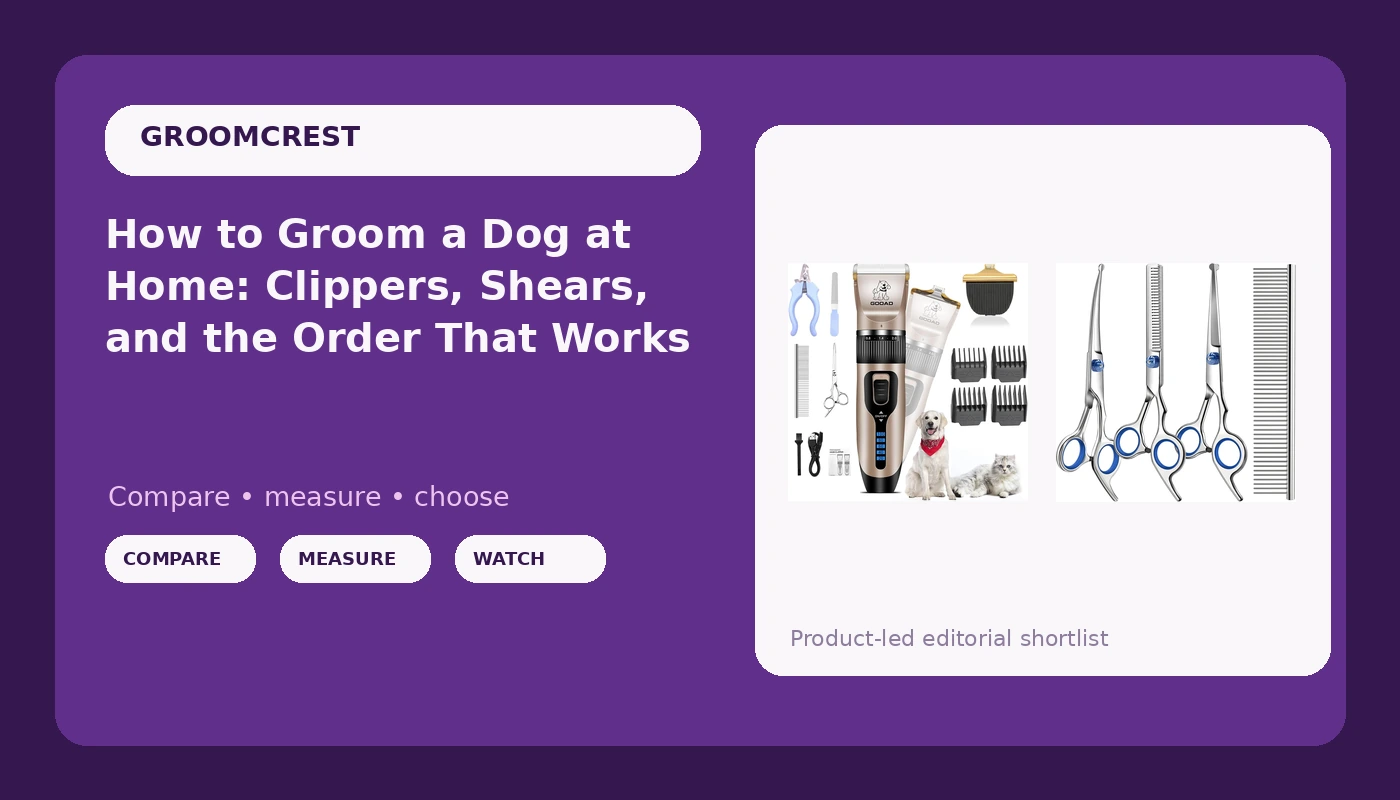
Most home grooms go wrong in the first ten minutes, long before a blade ever touches the coat. The dog is on the kitchen floor instead of a table, the coat is still packed with dead undercoat that the clipper has to fight through, and nobody has thought about which direction the hair grows.
I groom dogs out of a converted cargo van in Austin, about forty a week, and ten years in I can tell you that the order of work matters more than the brand printed on the tool. Get the sequence right, choose the right blade for the coat in front of you, and buy dog grooming clippers and shears sized to your dog instead of to a photo on a box, and you can produce a groom at home that holds up for six weeks.
This is the routine I walk owners through, plus the two tools I hand them when they want to try it themselves.
Why you should trust me
I have groomed dogs for ten years, the last six out of a van I park in driveways all over Austin. I started at nineteen as a bather at a strip-mall salon, and on my third week the only groomer quit in the middle of a shih tzu, so I finished the dog with a 10 blade and a bruised thumb. I have been finishing other people's dogs ever since.
The van taught me to measure things. After a hot blade gave a golden retriever a mild burn in July, I bought an infrared thermometer and logged blade temperatures for a month. Every tool that earns space in the van now comes with a dog count and a number attached to it. If it did not survive the dogs, it does not survive the review, and that rule is why only two tools made this guide.
What you need before the first cut
Three things make a home groom possible: a surface, a plan, and a brush-out.
The surface is a table. A folding grooming table with a non-slip top and an arm puts the dog at your waist height, keeps it from backing into a corner, and lets you cut at an angle that actually follows the coat. Grooming on the floor wrecks your back and teaches the dog that squirming works.
The plan is the order of work below. Read it once before you plug anything in.
The brush-out is not optional. A clipper pushed into a dirty, dead-coated dog will bog, heat up, and leave a choppy finish. Fifteen minutes with a slicker and a comb before you cut anything saves you forty minutes of fixing.
The tools that do the work
You do not need a salon worth of equipment to keep one dog tidy. You need something that cuts the body coat without burning skin, and something sharp enough to finish the face, feet, and outline. Those are different jobs, and they are the two tools below.
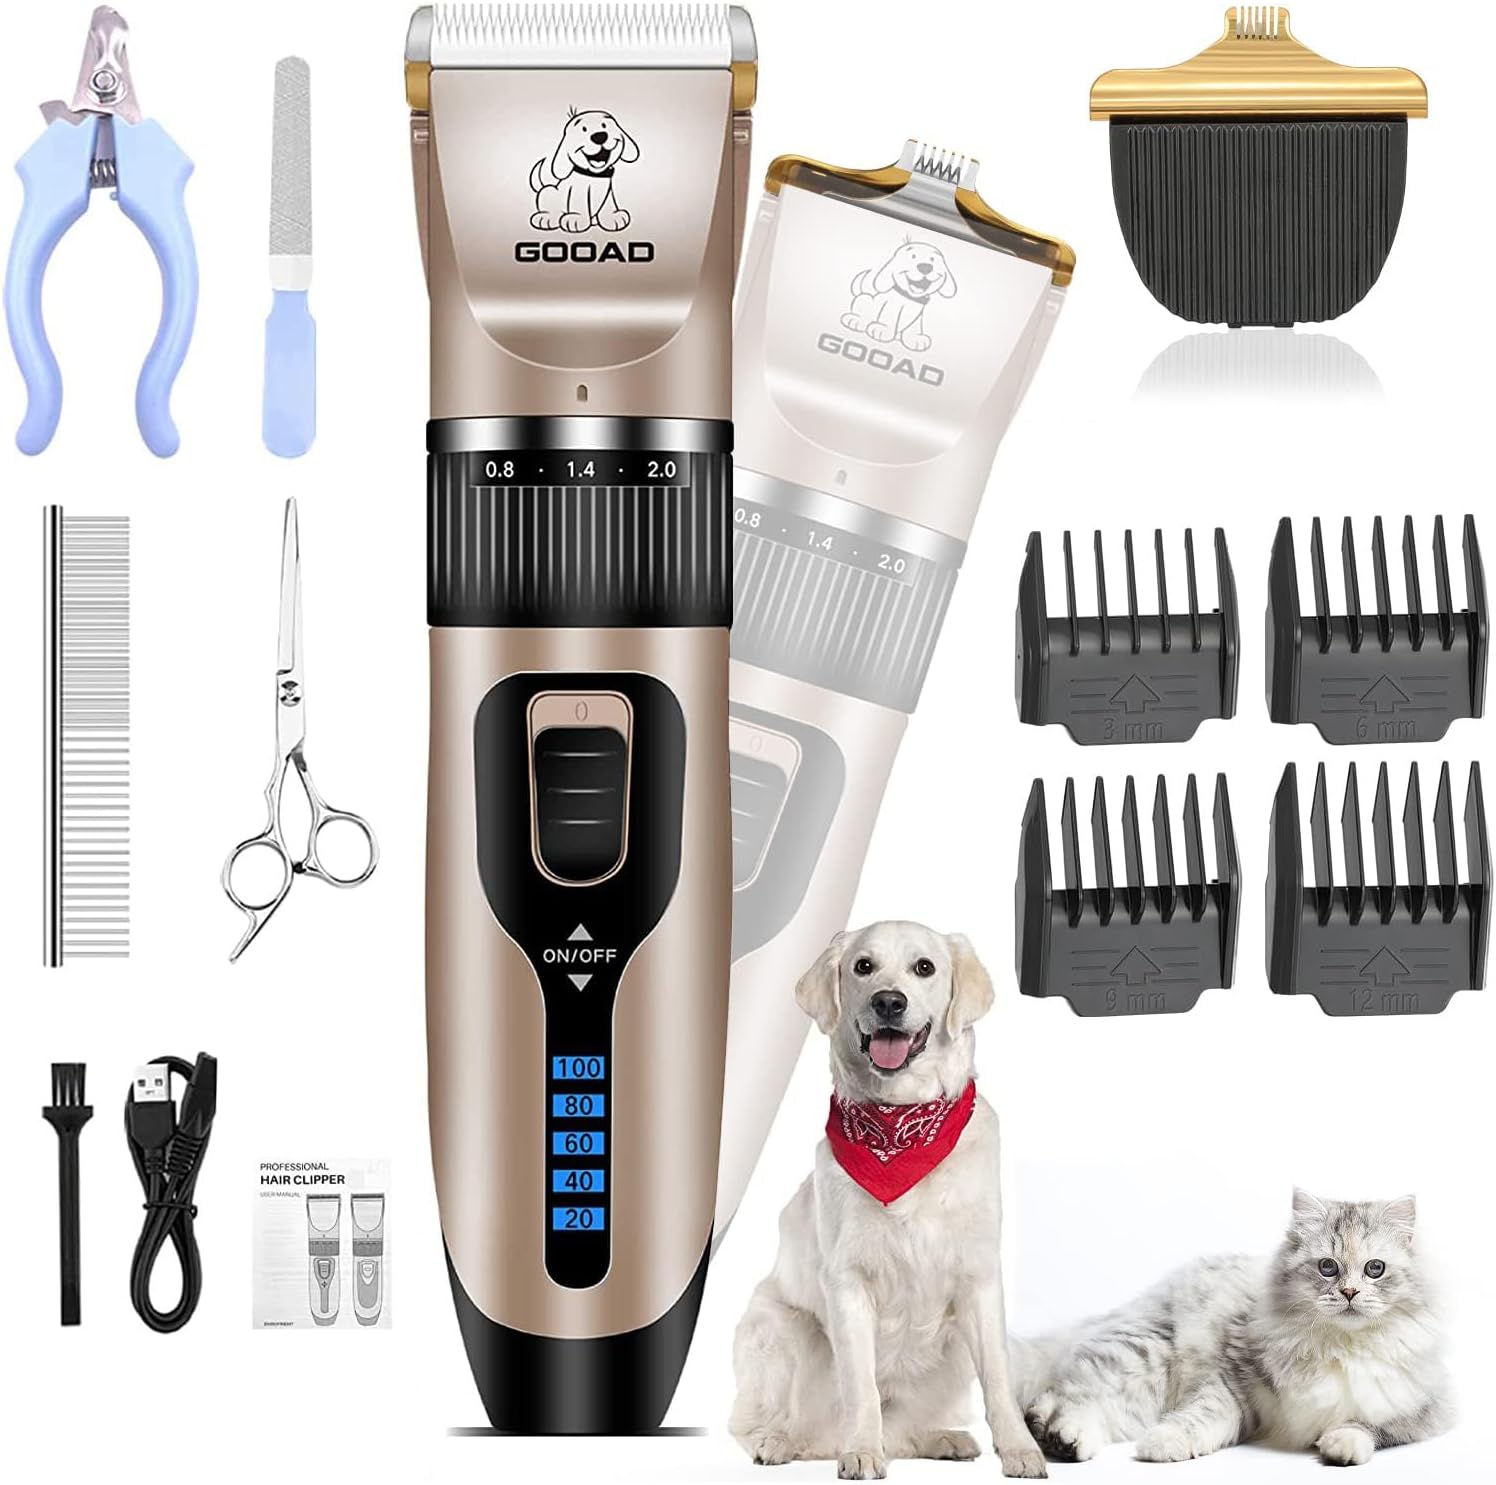
Our pick for whole-body clipping: Dog Clippers Grooming Kit and Trimmer for Small and Large Dogs Cats
 Visit on Amazon →
This is the kit I tell owners to start with when they want to do full body work at home. You get the clipper body for the body coat, a smaller trimmer head for feet, faces, and sanitary areas, and guide combs that let you leave a longer finish instead of buzzing the dog down to skin. Having both heads in one box matters more than it sounds, because the tool you reach for on a nervous dog's face should be small and light, not the same brick you just ran down a lab's back.
Use it on a clean, brushed, completely dry coat. Move the clipper in long, overlapping strokes and keep it moving, because the blade is what heats up, not the motor. Oil the blade every ten minutes and touch the back of your hand to it. If it is uncomfortable on your hand, it is a burn waiting to happen on a belly.
Flaws but not dealbreakers: This is a home kit, not a pro clipper. The blade will dull with use, and it will not chew through a matted coat or a husky's undercoat the way a corded professional tool does. Expect to replace blades if you groom monthly, and expect to stop and brush if the clipper starts stalling.
Anyone with a small to medium dog, a doodle, or a cat that tolerates clippers will get real work out of this kit.
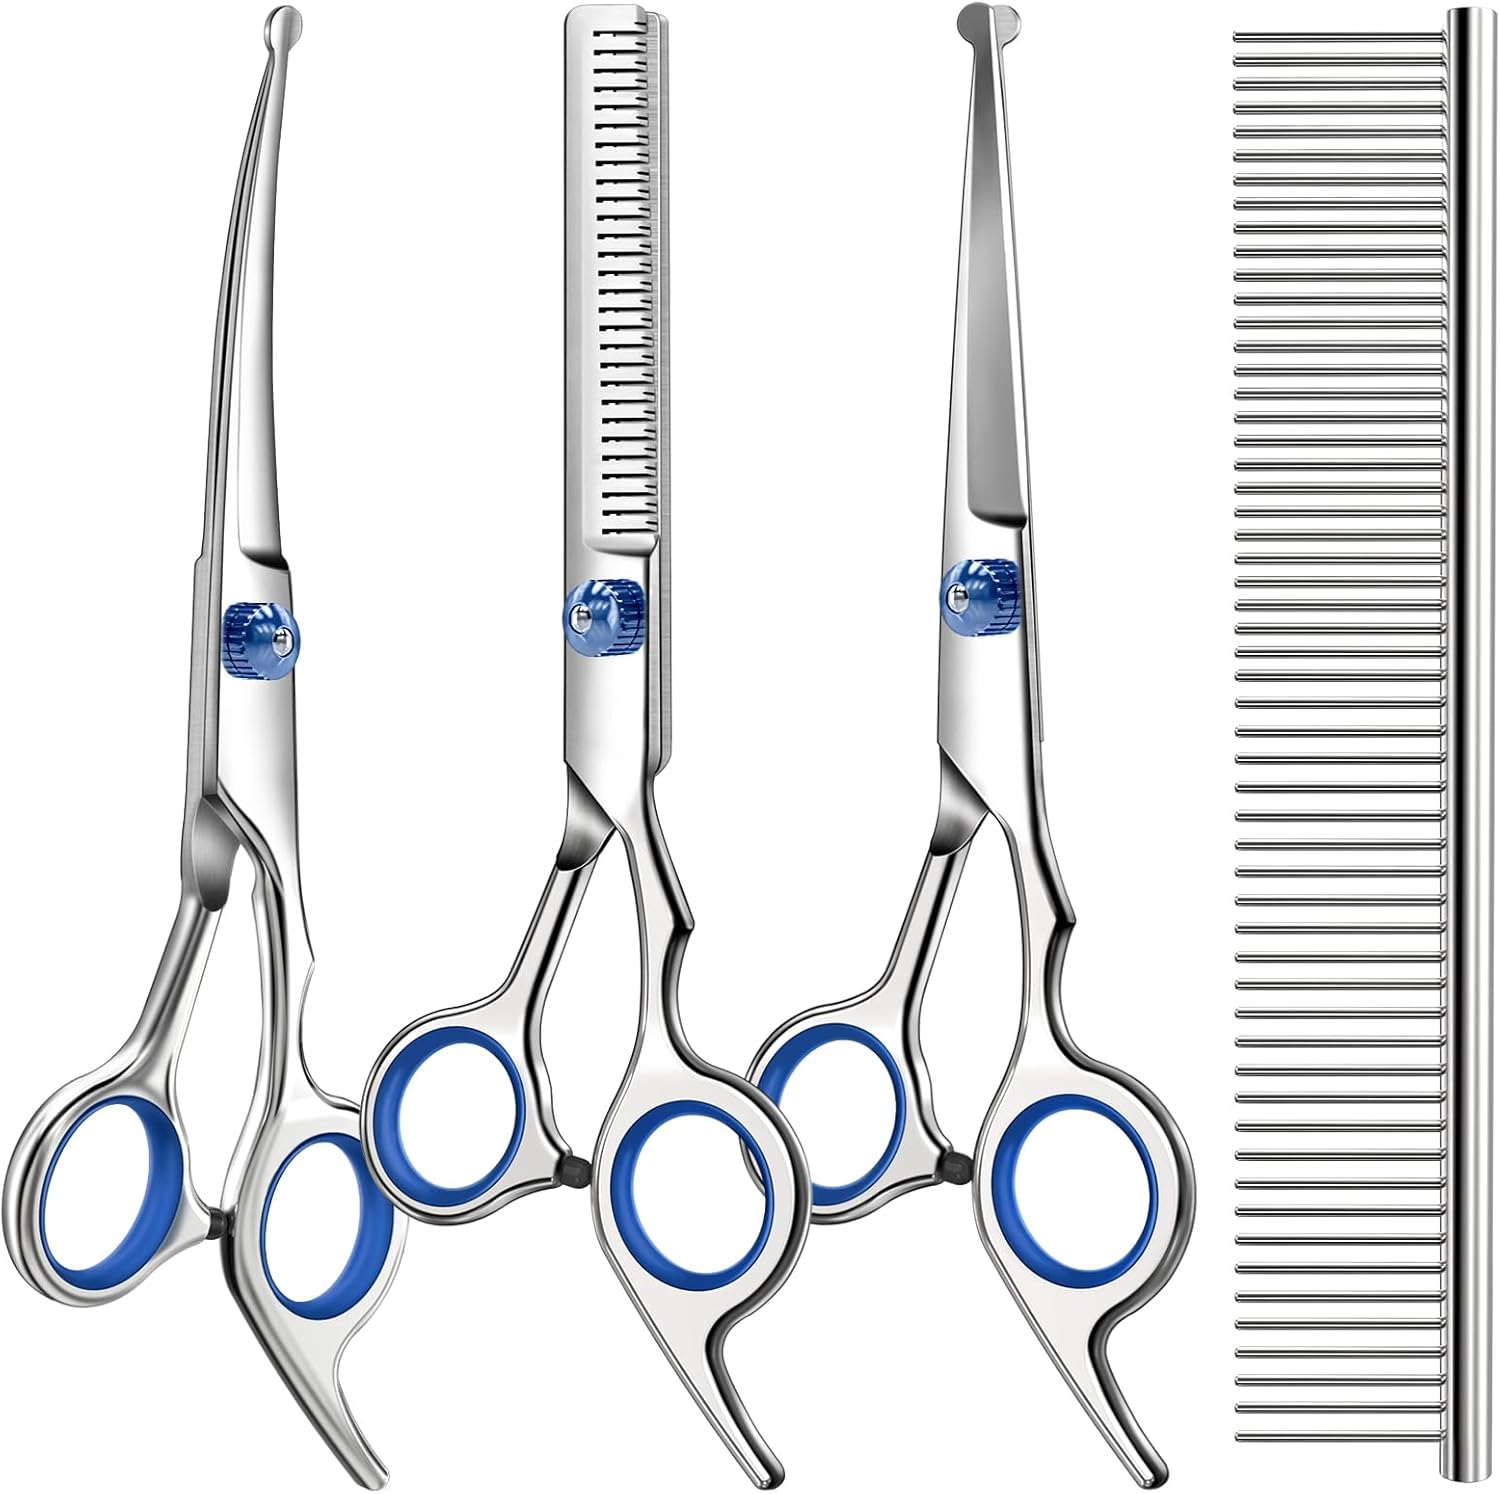
Our pick for scissor work: Professional 4 in 1 Dog & Cat Grooming Scissors Kit with Safety Round Tips,Sharp & Durable,Dog Shears for Grooming - Includes Straight, Curved, Thinning Scissors and Comb - Premium Pet Supplies
 Visit on Amazon →
Scissors are the difference between a haircut and a groom. A clipper gets the body done, but the round feet, the tidy face, the blended legs, and the outline all come from shears. This set covers the three shapes you actually use: a straight pair for trimming lines, a curved pair for faces and feet, and a thinning pair for blending the transitions where a clipper line meets longer hair. The comb in the box is the piece people forget, and it is the one you use to lift hair before every cut.
The rounded safety tips are the reason I hand this set to first-timers. When you are trimming around an eye or between paw pads, the last thing you want is a sharp point an inch from skin. Round tips will still cut hair, but they will not spear a dog that turns its head at the wrong second.
My first test on any new shear is a sheet of copy paper. It should cut cleanly from the pivot all the way to the tip with no drag and no tearing. If it drags on paper, it will drag on a face, and dragging is how dogs get nicked.
Flaws but not dealbreakers: Budget shears loosen at the tension screw over months, so keep the little wrench in the pouch and snug it when the cut starts folding hair instead of slicing it. Never use these on mats, and never on a dirty coat, because grit between the blades dulls an edge fast.
Anyone finishing faces, feet, and outlines at home will use all three pairs. If you only ever clip, you can skip this, but your dog will look clipped.
The actual workflow
Step one: Read the coat before you touch a tool. Run your hands over the dog from head to tail. Is there a dense undercoat under a longer topcoat, like a husky or a golden? That is a double coat, and it gets brushed and blown out far more than it gets clipped. Is the hair continuously growing and curly, like a poodle or a doodle? That is a single coat, and it gets brushed out and trimmed on a schedule. The answer changes which blade you pick and whether you should be clipping at all.
Step two: Brush the whole dog out. Work in lines, lifting the hair with the comb and brushing down to the skin, not just over the top. Pay attention to the spots that mat first: behind the ears, the armpits, the belly, the base of the tail, and the furnishings on the legs. If you find a mat, stop and deal with it before any clipper comes out. Clippers do not cut through mats, they ride up on them and dig in.
Step three: Set your station. Table at waist height, non-slip mat, leash loop snug but not tight, and every tool laid out within reach so you are not turning your back on the dog to dig in a drawer. Oil the blade, check it is cool, and have a second cool blade or a spray coolant ready if you own one.
Step four: Do the sanitary trim first. Belly, rear, and the inside of the back legs. This is the part of the groom nobody wants to discuss and every dog needs. Use the small trimmer head or a close blade, keep the skin pulled flat with your free hand, and go slow. It is the highest-consequence area on the dog, so it is the one where you take the fewest risks.
Step five: Clip the body with the coat, not against it. On most coats, you clip in the direction the hair grows, using long overlapping strokes. Against the grain gives you a shorter, choppier finish and a lot more blade friction. Keep the blade flat to the skin and let the tool do the work instead of pushing. After every few passes, touch the blade to the back of your hand. Most blades sit between 110 and 125 degrees Fahrenheit after ten minutes of continuous clipping, and that is the range where blade burn happens.
Step six: Feet and paw pads. Trim the hair between the pads with the small head, then round the foot with the curved shears. Lift each foot, hold it steady, and cut with the curve facing away from the pad. Round feet look intentional, and they also pick up less mud and burr.
Step seven: Face and head with shears until you are genuinely confident. Comb the hair up and away from the eye, hold it between two fingers, and cut above your fingers with the round-tipped curved shears. Never cut toward the eye, and never cut a moving target. If the dog will not hold still, do half the face, give a break, and finish later. The face is where home groomers get hurt and where dogs learn to hate grooming.
Step eight: Ears and nails. Clean the visible part of the ear with a cotton ball and a cleaner, never a cotton swab, because the canal is L-shaped and a swab packs wax deeper. For nails, clip or grind the tips and stop short of the pink quick. If your dog has black nails, grind a little at a time and look at the flat end of the nail after each pass.
Step nine: Bath and dry. Shampoo, then rinse until the water runs clear and the coat stops feeling slick. Rinse time is the spec nobody prints on a bottle, and residue is what turns into mats. Then dry the dog completely, all the way to the skin. A damp undercoat is a mat factory.
Step ten: Finish with shears. Tidy the outline, blend the clipper lines into the longer hair, and check the feet one more time. The finishing pass is what makes a home groom look deliberate.
Where home grooms go wrong
The same three mistakes show up in almost every do-it-yourself groom I get called to fix.
No table. A dog on the floor is a dog that can back away, and you end up leaning over it, cutting at an angle, and losing patience. A table is the single purchase that changes how a dog behaves.
Clipping a dirty or matted coat. If the coat is packed into a pelt, no blade on earth is going to comb it out, and a "gentle" tool will not either. That dog gets shaved down and started over, and a groomer should be the one to do it.
Skipping the dryer. Towel drying leaves the undercoat damp, and damp undercoat felts together. If you have a double-coated dog, this is the difference between a coat that sheds normally and a coat that mats against the skin.
One more: scissors on mats. Cutting a mat with shears is how dogs get sliced, because you cannot see the skin under it and the mat pulls the skin up with the hair. Do not do it.
The competition and why it lost
Corded professional clippers like the Andis AGC, the Wahl KM5, and the Oster A5 Turbo are the tools I use every day, and they are the wrong first purchase for someone trimming one dog every six weeks. They are heavier, louder, and built around a detachable blade system you will never use. The heat is real on all of them, which is exactly why blade rotation is a skill and not a suggestion.
Salon-priced shears are in the same category. A pro shear holds an edge through forty doodles, and a home groomer cutting one face a month will never notice the difference between that and a well-made budget set. Spend the money when the tool is the thing limiting your work, not before.
Grooming vacuums and all-in-one kits are the third category I get asked about constantly. They are maintenance tools for between grooms, not replacements for a bath, a clipper, and a dryer. A vacuum cannot reach undercoat, and a dryer can blow it out in one session.
What this all costs
The honest math on home grooming is not the tool price, it is the repeat cost. A clipper kit and a shear set are one-time purchases. Blades and replacement heads are the recurring cost, and how often you replace them depends on how many dogs you groom and how clean the coat is when you start.
Weighed against a professional groom every four to six weeks, most owners break even inside a year, and that is before you count the appointments you do not have to drive to. What you are really buying is the ability to handle a sanitary trim between grooms, which is the thing that keeps a coat from matting in the first place.
Check current Amazon price on both tools before you commit, and buy the size that fits your dog rather than the size that fits the photo.
Quick answers to the questions I get most
Can I use human clippers or hair scissors on my dog? No. Human clippers run too hot and too slow for a coat, and human scissors have sharp points and a straight edge that makes face work dangerous. The round-tipped shears in the kit above exist for a reason.
How do I know the blade is too hot? Touch it to the back of your hand. If it is uncomfortable on you, it is a burn risk on a belly. Logged blade temps on my own tools sit between 110 and 125 degrees Fahrenheit after ten minutes of clipping, so rotate blades or pause.
How often should I groom my dog at home? Double coats get brushed two or three times a week and bathed every six to eight weeks. Single coats, the continuously growing ones, get a full brush-out every two to three days and a bath every three to four weeks. The brush schedule matters more than the bath schedule.
My dog lip licks and yawns the whole time. Should I keep going? Those are stress signals, and they mean the tool is too loud or the handling is too rough for that dog today. Switch to a quieter tool, shorten the session, and come back to it. A groom that takes two sittings beats a groom that teaches your dog to hate the table.
What if the coat is already matted? Then the plan changes. Mats get shaved out, not brushed out, and a dog in a pelt needs a groomer or a vet, not a home trim with scissors. Brush the coat you have, and the mats stop happening in the first place.